News & Events
How 96 Well Plates Improve Immunohistochemistry Efficiency

Sep
You can process more samples in less time with 96 well plates in immunohistochemistry. The table below shows how this setup handles up to 192 samples per run, with high annual throughput and lower cost per sample compared to other methods.
| Method | Samples per Run | Cost per Sample (EUR) | Annual Throughput (K) | NPV (EUR M) |
|---|---|---|---|---|
| 96-Well Plates (Predictor) | 192 | 4.22 | 230.4 | 49.32 |
You save reagents by processing many samples at once, making wells for ihc more efficient. Reliable results depend on following the protocol, using proper techniques, and optimizing each well in your ihc workflow.
Key Takeaways
- Using 96 well plates allows you to process up to 192 samples at once, significantly increasing your throughput and saving time on large projects.
- Consistent application of protocols across all wells reduces human error, leading to more reliable and reproducible results in your experiments.
- Switching to 96 well plates decreases reagent use, saving money and reducing waste, which benefits both your budget and the environment.
- Choosing the right flat-bottom plates and optimizing sample preparation ensures even cell growth and improves imaging quality.
- Automation tools can streamline your workflow, reduce hands-on time, and enhance the accuracy of your immunohistochemistry results.
Efficiency Benefits in Immunohistochemistry
Increased Throughput
You can process many samples at once when you use 96 well plates in immunohistochemistry. This setup lets you run up to 192 samples in a single session. You save time because you do not need to handle each slide one by one. Many labs report that switching to 96 well plates doubles or even triples their daily sample output. This higher throughput helps you finish large projects faster and meet tight deadlines.
Tip: Use a clear labeling system for each well. This helps you track your samples and avoid mix-ups during your ihc workflow.
Consistency and Reproducibility
You get more reliable results when you use 96 well plates for ihc. Each well provides a controlled space for your sample. You can apply the same protocol steps to every well at the same time. This reduces human error and makes your results more reproducible. If you follow the same protocol for each run, you will notice less variation between samples. Many researchers find that their data becomes more trustworthy when they use this method.
- Apply reagents to all wells at once for even coverage.
- Use a multichannel pipette to reduce timing differences between wells.
Reduced Reagent Use
You use less reagent per sample when you switch to 96 well plates. Each well only needs about 100 to 200 microliters of solution. This small volume means you save money on expensive antibodies and detection reagents. Over a year, these savings can add up, especially if you run many immunohistochemistry tests. You also create less waste, which is better for your budget and the environment.
Note: Always check the recommended volumes in your protocol. Using the right amount ensures good staining and avoids wasting reagents.
Optimizing Wells for IHC
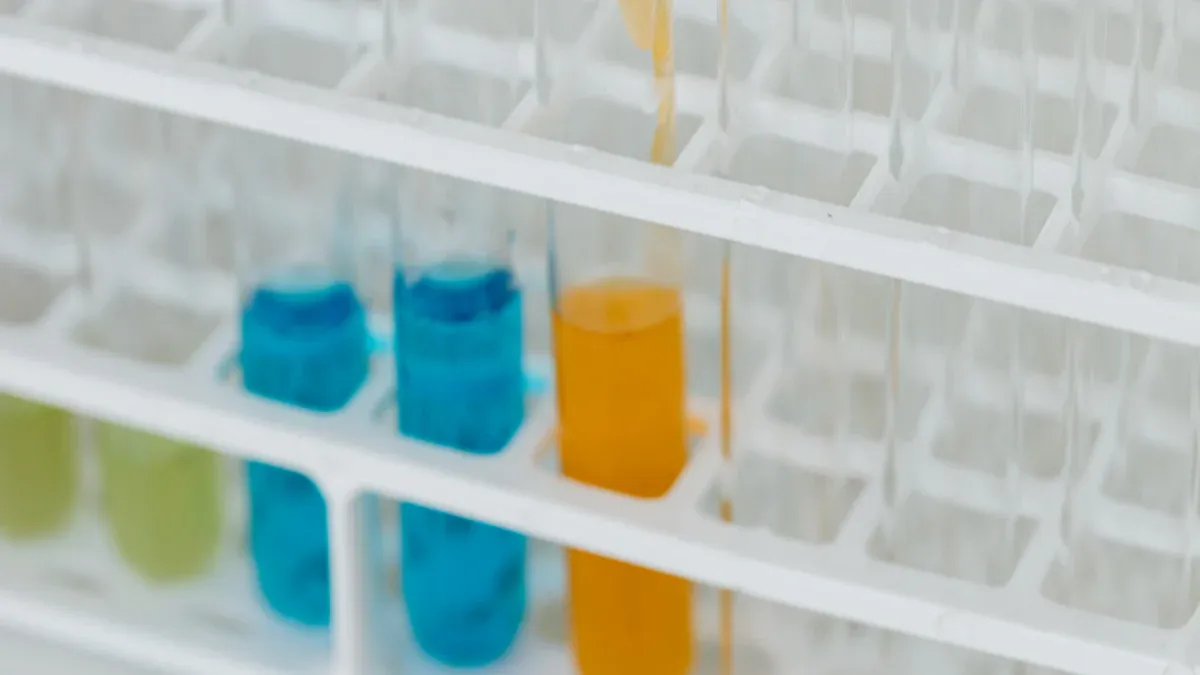
Plate Selection
You need to choose the right plate for your wells for ihc. Flat-bottom 96-well plates work best for most immunohistochemical techniques. These plates help you get even cell growth and make imaging easier. You should look for plates with clear bottoms if you plan to scan or image your samples. Always check if the plate is compatible with automation systems like the AutoMATE 96 Microplate Pipetting Workstation or the Micro10x™ Microplate Reagent Dispenser. These devices save time and reduce errors when you process many wells for ihc.
Recommended volumes for each well range from 100 to 200 µl. This amount helps you cover the sample without wasting reagents. Stick to 75-80% of the well’s maximum capacity to avoid spills and ensure uniform staining. If you use formalin-fixed paraffin-embedded samples, make sure the plate can handle the chemicals used in antigen detection and heat-induced epitope retrieval.
Sample Preparation
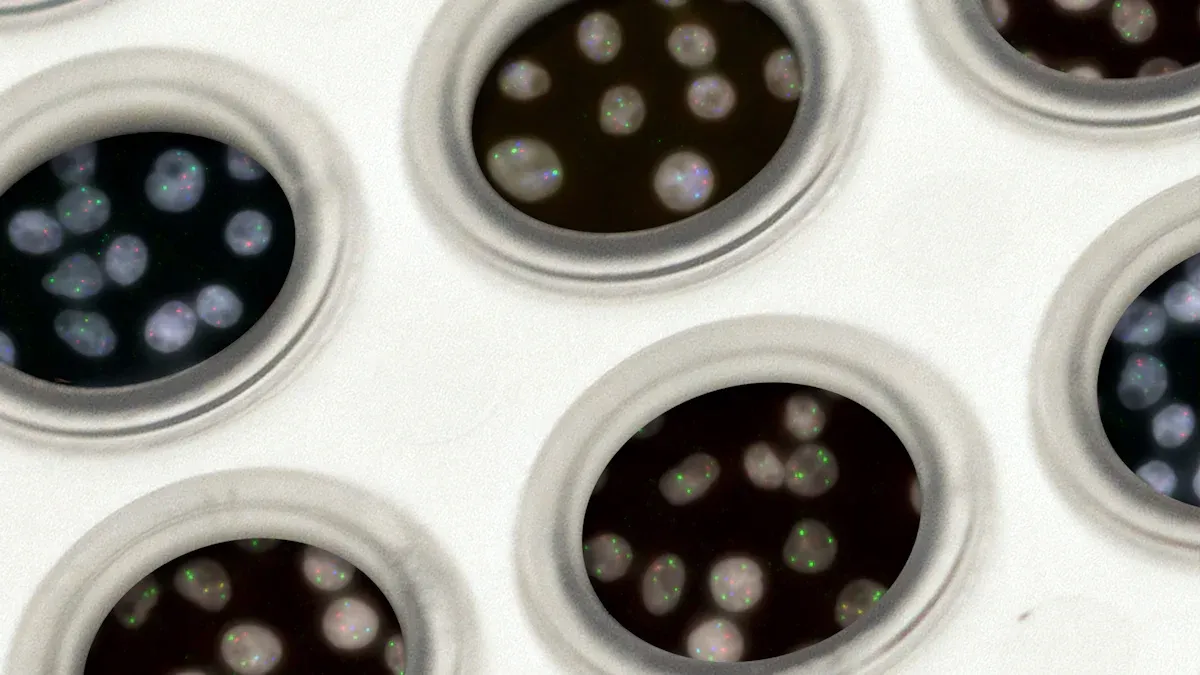
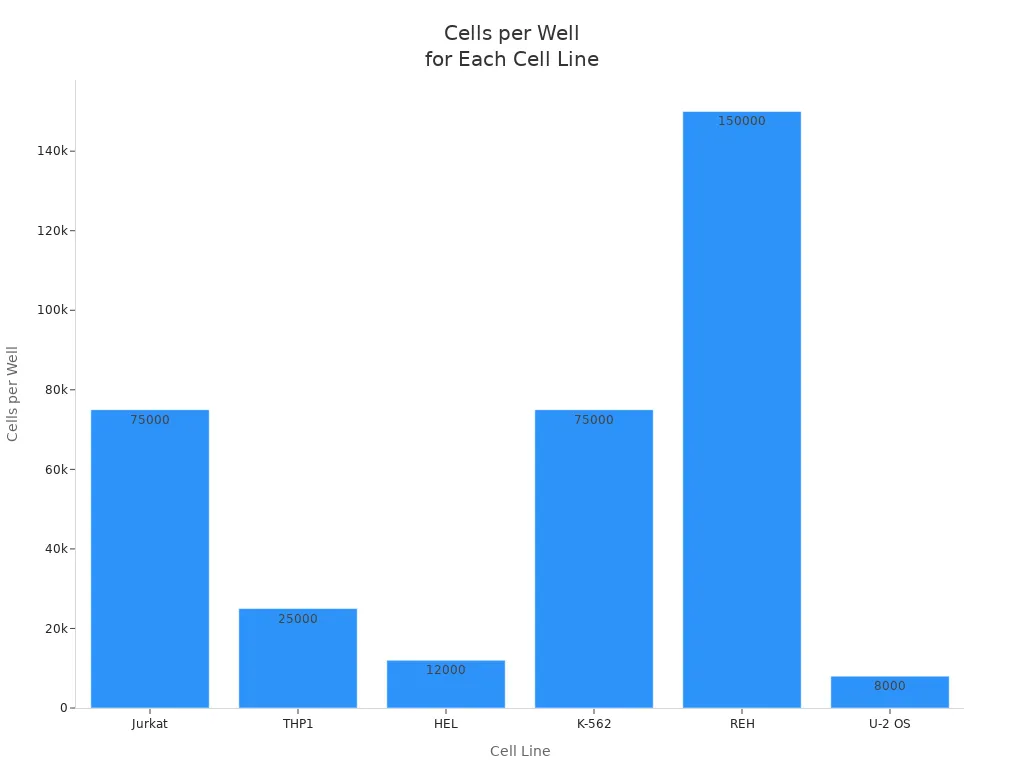
Proper sample preparation gives you reliable results in immunohistochemistry. You start by coating your plates or coverslips with a solution that helps cells stick. After rinsing and drying, you culture cells until they reach about 80% confluence. For wells for ihc, you need to seed the right number of cells. The chart below shows how many cells you should add for different cell lines:
You fix cells with 4% formaldehyde or 100% methanol. Let them sit for 15 minutes at room temperature. Shake out the fixative and blot the plate. Rinse each well three times with PBS. For formalin-fixed paraffin-embedded tissues, block specimens to a thickness of 3-4 mm and fix in 10% neutral-buffered formalin for 24 hours. Dehydrate and infiltrate with paraffin at controlled temperatures. Cut tissue sections to the right thickness for optimal antigen detection.
Tip: Always check cell viability before starting your protocol. Aim for 90–95% viable cells to get consistent results in wells for ihc.
Reagent Dispensing
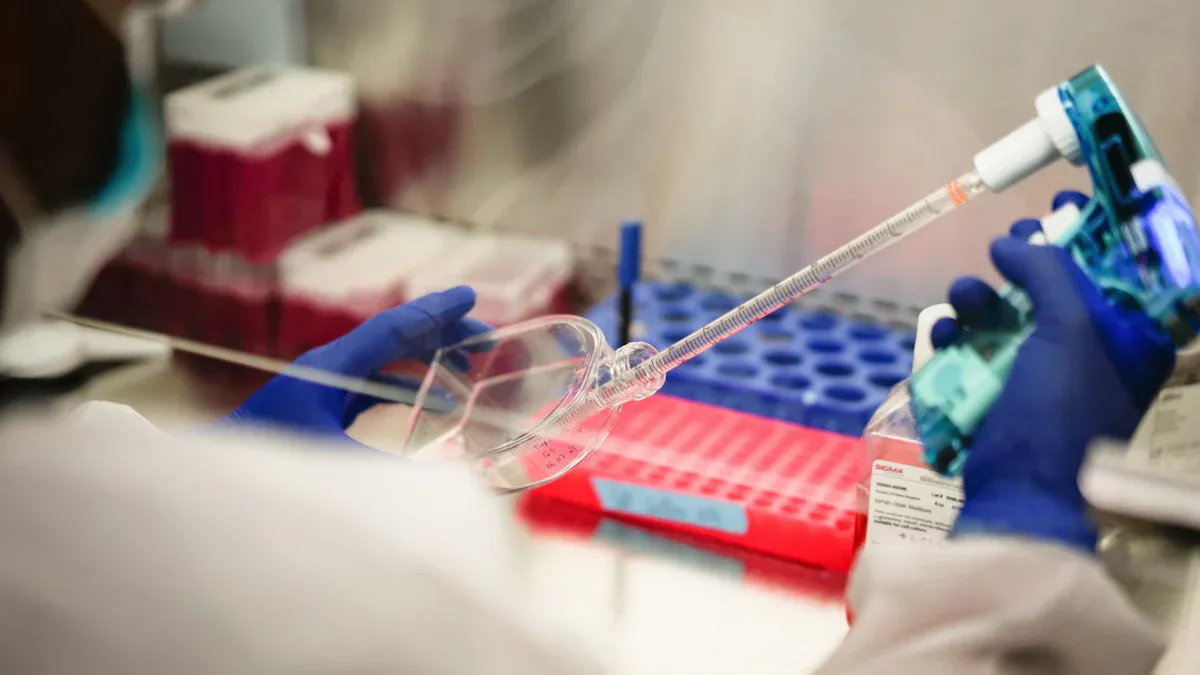
Accurate reagent dispensing is key for successful ihc. Use calibrated pipettes and pre-wet the tips to avoid losing liquid. Dispense at a steady angle to prevent splashing or bubbles. Change pipette tips after each transfer to avoid cross-contamination. Multi-channel pipettes and automated liquid handlers like the AutoMATE 96 or Micro10x™ make it easy to process many wells for ihc at once.
| Best Practice | Description |
|---|---|
| Accurate Pipetting | Use calibrated pipettes. Pre-wet tips. Dispense at a consistent angle. |
| Avoiding Cross-Contamination | Change tips after each transfer. Use automation. Seal plates during incubation. |
| Sample Uniformity | Mix reagents gently. Do not overfill wells. Use 75-80% of capacity. |
Gently mix reagents in each well to get uniform distribution. Do not overfill the wells for ihc. Stick to the recommended volume for your protocol. Automation technologies like the Reagent Exchanger and Micro10x™ help you dispense reagents quickly and accurately. These systems reduce human error and improve consistency in antigen detection.
Incubation and Washing
Incubation and washing steps affect the quality of your ihc results. Block cells in a buffer for one hour at room temperature. Use blocking agents like normal serum, BSA, or gelatin at 1–5%. Avoid goat serum, milk, and BSA if you use goat or sheep primary antibodies. For permeabilization, use PBS with 0.1–0.5% Triton X-100 for 10 minutes at room temperature or 4°C. You can also use a one-step method with blocking buffer and Triton X-100.
After blocking, dilute your primary antibody in the buffer as directed by your protocol. Add 50 µl per well and incubate overnight at 4°C. Rinse the plate three times with PBS for five minutes each. Add the secondary antibody and incubate for one hour at room temperature in the dark. Wash again three times with PBS. For antigen detection, use heat-induced epitope retrieval if your protocol requires it. This step helps expose the antigen and improves staining in formalin-fixed paraffin-embedded samples.
Note: Always follow your protocol for blocking, washing, permeabilization, and antigen retrieval. These steps help you get strong and specific staining in wells for ihc.
IHC Protocol Troubleshooting
Cross-Contamination
You may notice cross-contamination when working with 96-well plates in ihc. This problem can cause false results and ruin your experiment. Common causes include well-to-well contamination during sample processing, using contaminated laboratory kits or reagents, and mistakes during DNA extraction steps. Automated systems can make contamination worse if you do not follow the protocol carefully.
To prevent cross-contamination, you should:
- Change pipette tips after every transfer.
- Seal plates during incubation.
- Use clean reagents and kits.
- Follow best laboratory practices at every step.
- Clean work surfaces before and after each run.
If you see unexpected staining in negative controls, do not just remove those results. Try to find the source of contamination and fix your protocol.
Uniform Staining
Uniform staining helps you get reliable data from your immunohistochemistry tests. Uneven staining can happen if you do not prepare slides well or if you skip steps in your protocol. Problems like negative staining may mean you need to validate your antibody or use a positive control. Dry tissue sections or poor storage can also cause uneven results.
You can improve uniform staining by:
- Storing slides at 4°C and keeping them covered in liquid.
- Making sure you deparaffinize samples well.
- Mixing reagents gently in each well.
- Using a multichannel pipette for even reagent application.
If you see weak or no staining, increase the primary antibody concentration or incubation time. Always check that your protocol matches the needs of your samples.
Edge Effects
Edge effects can make staining stronger or weaker at the edges of wells for ihc. These effects often happen because of evaporation or uneven reagent distribution. You may see this problem if you do not fill wells properly or if you leave plates uncovered during incubation.
To reduce edge effects:
- Fill each well with the recommended volume.
- Cover plates during incubation.
- Place plates in a humid chamber.
- Avoid overfilling or underfilling wells.
If you follow these protocols, you will see more consistent results across all wells. Troubleshooting guides from trusted sources can help you solve problems quickly. Always review your protocols and adjust them as needed for your specific experiment.
Real-World Impact
Time Savings
You can save a lot of time when you use 96 well plates for ihc. Many labs report faster turnaround for immunohistochemistry results. For example, a large hospital laboratory used Lean Six Sigma methods and reduced the time needed for staining by 23% for morning orders and 20% for afternoon orders. This means doctors get results sooner and can help patients faster. You add your sample to each well, apply antibodies, and start labeling with less hands-on work. The xCELLigence RTCA SP model lets you add neurons to E-plates and begin kinetic measurements quickly. You spend less time pipetting and more time analyzing staining patterns. Automation helps you process many samples at once, so you finish your protocol faster.
Tip: Use automation tools to reduce hands-on time and improve consistency in your ihc workflow.
Data Quality
You get better data quality when you optimize your protocol for 96 well plates. You can measure staining with clear metrics. Labs use the QC-KS statistic to compare control wells to a reference. You count the number of neurons in each sample and check the percentage of active cells. Quadratic Entropy shows how diverse your cell population is. Non-normality uses the KS statistic to compare your test sample to a normal distribution. You also look at the percent of outlier cells. These metrics help you see if your antibody labeling is accurate and if your staining is consistent across wells. You can trust your results when you follow the protocol and use the right antibodies for each sample.
- QC-KS statistic
- Cell Count
- %Active
- Quadratic Entropy
- Non-normality (nNRM)
- Percent Outliers (%OL)
Cost Reduction
You lower your costs when you use 96 well plates for ihc. You need less antibody for each sample, so you save money on expensive antibodies. You use smaller volumes for staining and labeling, which means you waste fewer reagents. You process more samples at once, so you spend less on labor and supplies. You can test many synaptic proteins in one run, which helps you compare labeling patterns and reduce repeat experiments. Automation reduces errors and saves time, so you avoid costly mistakes. You get reliable staining results and use your antibodies efficiently, which helps your budget and improves your protocol.
| Benefit | How It Helps You Save Money |
|---|---|
| Less antibody used | Lower cost per sample |
| Small volumes | Less waste of reagents |
| Automation | Fewer errors and less labor |
| Batch processing | More samples per run, fewer repeat tests |
You improve efficiency and data quality when you optimize wells for IHC in 96-well plates. You process many samples at once, follow the same protocol for each well, and get consistent results. You use surface treatments and control well conditions to support cell growth. You reduce errors by following every protocol step carefully. You save time and resources by using a protocol that fits automation. You get better results when you check your protocol for edge effects and uniform staining.
| Step | Description |
|---|---|
| 9 | Wash samples in each well with PBS using the protocol. |
| 10 | Add permeabilization buffer and follow the protocol for shaking. |
| 11 | Block samples with serum as described in the protocol. |
| 12 | Add primary antibodies using the protocol. |
| 13 | Incubate samples according to the protocol. |
For advanced IHC techniques, review guides on high-throughput screening and well optimization. You can find more protocol tips in immunohistochemistry manuals and troubleshooting resources.
FAQ
What is the main advantage of using 96 well plates for tissue sections in immunohistochemistry?
You can process many tissue sections at once. This setup helps you save time and improve detection efficiency. You get more consistent results when you follow the protocol for each well.
How do you prevent high background staining in microscopy experiments?
You should block tissue sections with the right buffer. Use a positive control sample to check for signal. Wash each section carefully to reduce high background staining in fluorescence or chromogenic detection.
Why is correlative microscopy important for tissue analysis?
Correlative microscopy lets you study tissue sections with different methods. You can combine correlative light microscopy and electron microscopy. This approach helps you see both structure and signal in the same section.
What steps help you get uniform signal in tissue sections?
You need to mix reagents gently in each well. Cover plates during incubation. Use a multichannel pipette for even application. These steps help you get uniform signal across all tissue sections.
How do you choose the best positive control sample for your experiment?
Pick a tissue section known to express your target. Use microscopy to check for signal. A good positive control sample helps you confirm detection efficiency and avoid false results in correlative studies.