Antibody knowledge
Never Miss a Step in Bradford Protein Estimation

Sep

You need reliable protein quantification to get trustworthy Western blot results. The Bradford protein estimation method offers a fast and sensitive way to measure protein. Many scientists choose this method because it helps you load equal amounts of protein in each lane. Take a look at how Bradford compares to other protein quantification assays:
Assay Type | Sensitivity | Shortcomings |
|---|---|---|
Bradford | Moderate | Sensitive to detergents and specific amino acids |
BCA | Moderate | Sensitive to peptide bond accessibility |
Lowry | Moderate | Sensitive to peptide bond accessibility and specific amino acids |
The Bradford assay can react with detergents and certain amino acids, which may affect your results. Careful attention to each step helps you avoid these common issues.
Key Takeaways
The Bradford assay is a reliable method for protein quantification, essential for accurate Western blot results.
Prepare all reagents and standards carefully to ensure accurate measurements. Use clean equipment to avoid contamination.
Consistent mixing and incubation times are crucial for reliable results. Always follow the same procedure for each sample.
Run standards alongside your samples to create a calibration curve. This step helps you determine the protein concentration accurately.
Pay attention to common pitfalls, such as using old reagents or inconsistent pipetting, to avoid errors in your protein quantification.
Materials and Setup
Required Reagents
To get accurate results with the Bradford assay, you need to gather all your reagents before you start. You will use Coomassie Brilliant Blue G-250 dye, which binds to protein and changes color. This color change helps you measure the amount of protein in your samples. You also need protein standards, such as Bovine Serum Albumin (BSA), to create a standard curve for colorimetric protein quantification. Prepare a set of BSA solutions with known concentrations, like 0.2, 0.4, 0.6, 0.8, and 1.0 mg/mL. These standards help you compare your unknown samples and find out how much protein they contain.
You should also have a buffer, such as phosphate-buffered saline (PBS), to dilute your samples and standards. Always use clean pipette tips and tubes to avoid contamination. Make sure you mix your dye and buffer well before use. If you store your reagents in the fridge, let them reach room temperature before starting your colorimetric protein quantification.
Tip: Label all your tubes and standards clearly. This step prevents mix-ups and saves time during your experiment.
Equipment Checklist
You need the right equipment to measure protein accurately. The most important tool is a spectrophotometer, which reads the color change at 595 nm. You also need cuvettes to hold your samples during measurement. Always check that your spectrophotometer is clean and calibrated before use. Use BSA standard solutions to set up your calibration curve. This step ensures your protein readings are correct.
Essential Equipment | Calibration Standards |
|---|---|
Spectrophotometer | Bovine Serum Albumin (BSA) standard solutions of known concentrations |
Cuvettes | 0.2, 0.4, 0.6, 0.8, and 1.0 mg/mL BSA solutions |
Check that your pipettes work well and give accurate volumes. If you use a microplate reader instead of a spectrophotometer, make sure it can read at 595 nm. Always keep your workspace clean to avoid errors in protein measurement.
Bradford Protein Estimation Steps
Sample Preparation
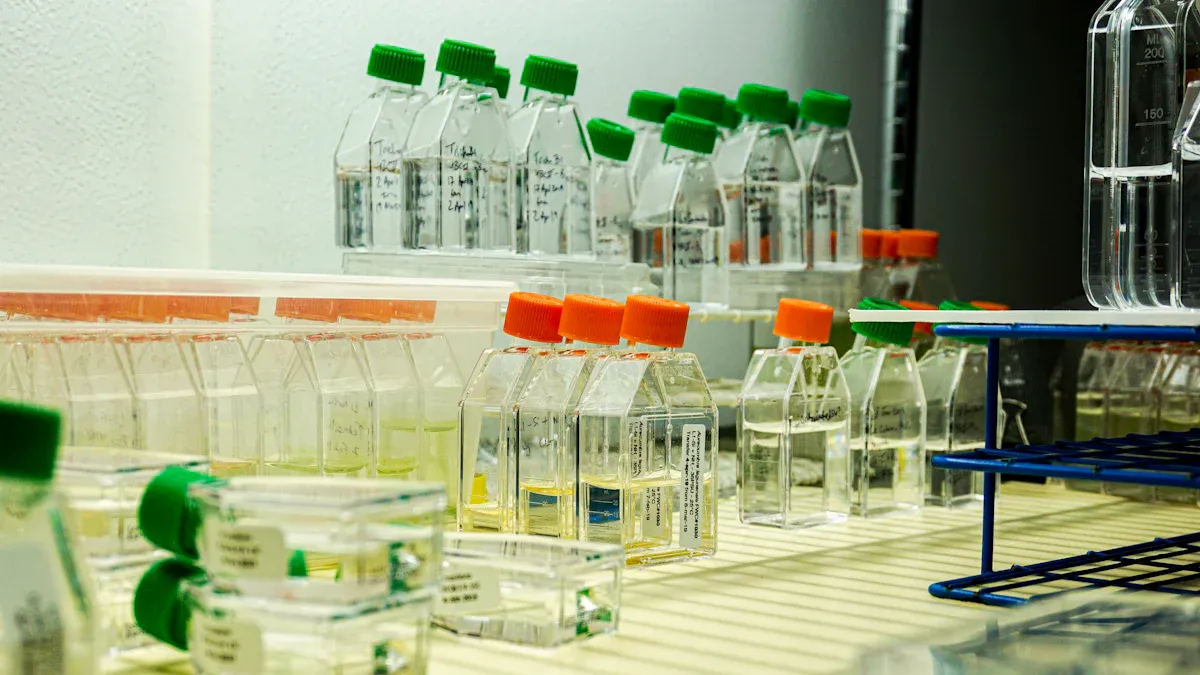
You need to prepare your samples carefully to get accurate protein concentration results. Start by collecting your samples and storing them at -80°C. This step helps prevent protein loss or degradation. Use mechanical disruption and chemical lysis buffers to break open cells and extract protein. Always use clean equipment and work in a sterile environment to reduce contamination risks. Quality control at each step ensures your results stay reproducible.
Here is a summary of recommended sample preparation techniques:
Technique | Description |
|---|---|
Sample Collection and Storage | Blood samples are collected and stored at -80°C to prevent protein degradation. |
Lysis and Extraction | Cells are lysed using mechanical disruption and chemical lysis buffers for thorough extraction. |
Quality Control | Implementing quality control measures to monitor each preparation step for reproducibility. |
Minimizing Contamination | Using clean equipment and working in sterile environments to reduce contamination risks. |
Tip: Always label your tubes and samples. This habit helps you avoid confusion during protein analysis.
Reagent Mixing
You need to mix your reagents with care to get reliable protein quantification. Add your protein standards and unknown samples to clean tubes. Use the same buffer for all samples and standards to keep conditions consistent. Add the Coomassie Brilliant Blue G-250 dye to each tube. Mix each tube gently but thoroughly. Consistent mixing helps the dye bind evenly to the protein in every sample.
For the bradford protein estimation, always prepare a fresh set of standards for each experiment. This practice helps you compare your unknown samples to known protein concentrations. Use pipettes that deliver accurate volumes. If you use a microplate, add the dye and samples to each well in the same order and mix gently.
Note: Inconsistent mixing can lead to errors in protein quantification assays. Take your time with this step.
Incubation
After mixing, let your samples incubate at room temperature. The incubation time usually ranges from 5 to 10 minutes. This period allows the dye to bind fully to the protein. Do not let samples sit for too long, as over-incubation can change the color and affect your results. Keep the timing the same for all samples and standards.
Set a timer for each batch. This habit helps you keep incubation times consistent. If you use a microplate, cover it to prevent evaporation. Consistent timing during incubation is key for accurate bradford protein assay results.
Measuring Protein Concentration
Once incubation finishes, measure the absorbance of each sample at 595 nm using a spectrophotometer or microplate reader. The bradford protein estimation relies on the color change caused by the dye binding to protein. The absorbance at 595 nm tells you how much protein is in each sample.
The bradford protein assay gives a linear signal for protein concentrations between 62.5 and 1000 µg/ml BSA.
Stay within this range for accurate protein quantification.
If your sample falls outside this range, dilute it and repeat the measurement.
Use your standard curve to find the protein concentration of each unknown sample. Plot the absorbance values of your standards and draw a line through the points. Compare the absorbance of your unknowns to this line to find their total protein concentration.
Reminder: Always run your standards and unknowns in duplicate or triplicate. This practice helps you spot errors and improves the reliability of your protein quantification assays.
By following these steps, you ensure accurate bradford protein estimation. Consistent timing, careful mixing, and proper sample handling all play a role in reliable protein analysis. These habits help you get the best results from your bradford protein assay and support equal loading in your Western blot experiments.
Critical Checkpoints
Error Prevention
You can avoid many mistakes in the Bradford assay by paying close attention to certain steps. Always check your blanks, standards, and dye quality before you start. Poor dye quality or incorrect blanks can lead to inaccurate results. Use fresh reagents and inspect them for any changes in color or clarity. Pipetting consistency matters a lot. If you use different volumes or mix samples unevenly, your results may not match. Set up your workspace so you can reach everything easily. This helps you keep your pipetting steady and accurate.
Timing and wavelength are also important. Measure absorbance at 595 nm and keep your timing consistent for every sample. If you wait too long or measure at the wrong wavelength, you may see little or no absorbance. Clean cuvettes and proper buffers help you avoid high background readings. Always rinse cuvettes with distilled water and dry them before use. Use the same buffer for all samples and standards to keep conditions stable.
Here is a table showing the most critical checkpoints and the issues they help you avoid:
Checkpoint | Issue to Address |
|---|---|
Blank, standards, dye quality | Inaccurate results |
Pipetting consistency | Inconsistent results |
Wavelength and timing | Little to no absorbance |
Clean cuvettes, proper buffers | High background |
Tip: Set a checklist for each step. This habit helps you catch errors before they affect your protein results.
Common Pitfalls
You may run into problems if you skip steps or rush through the process. Using old or contaminated reagents can change the color reaction and give you wrong protein readings. Forgetting to calibrate your spectrophotometer can also cause trouble. Always check the calibration before you measure absorbance. Mixing samples too quickly or unevenly can lead to poor dye binding. Take your time and mix gently.
Some people forget to run standards with every batch. If you skip this, you cannot compare your unknown samples to known protein concentrations. Always prepare fresh standards and run them alongside your samples. Watch out for bubbles in your cuvettes. Bubbles can block light and change your absorbance readings. Inspect each cuvette before you measure.
Note: Careful attention to each checkpoint helps you get reliable protein results every time.
Troubleshooting and Best Practices
Problem Solving
You may notice unexpected results during protein quantification assays. Sometimes, substances in your sample can interfere with the Bradford assay. Detergents often cause problems because they change how the dye reacts with protein. You can solve this by diluting your sample to lower the detergent concentration. If dilution does not work, you may need to choose a different protein quantification assay that uses another principle.
Other issues include cloudy samples or strange absorbance readings. Centrifuge your samples at 8,000-15,000 x g for 10-15 minutes to remove particles. You can also filter your samples using a 0.22 μm membrane filter. These steps help you get clear solutions for accurate protein measurement.
Tip: Always check your sample pH. Adjust it if needed because extreme pH can affect dye binding and protein quantification.
Accuracy Tips
You want your protein quantification assays to give reliable results every time. Use detergent-free buffers like PBS or HEPES. If you must use detergents, add neutralizing agents such as beta-cyclodextrins. Always prepare a fresh standard curve for each measurement. This practice helps you compare unknown samples to known protein concentrations.
Choose protein standards that match your sample matrix. This step improves accuracy. For best sensitivity, use normalization with an internal loading control. This method helps you compare protein levels across samples and ensures equal loading in your Western blot. Normalization also supports reproducible results.
Here are best practices for Bradford protein quantification:
Use clean equipment and fresh reagents.
Run standards with every batch.
Mix samples gently and evenly.
Measure absorbance at 595 nm.
Record all steps and results for future reference.
🧪 Consistent technique and careful sample handling help you achieve accurate protein quantification and reliable normalization.
Integration with Western Blot
Workflow Timing
You need to plan your workflow carefully when you use the Bradford assay before running a blot. Accurate protein estimation helps you decide how much sample to load in each lane. If you measure protein concentration right after extraction, you can adjust your loading volumes before you start electrophoresis. This step saves you time and prevents mistakes later in the process.
Timing matters at every stage. You should complete protein extraction, quantification, and sample preparation before you set up your gel. If you rush or skip steps, you may load uneven amounts of protein. This can lead to unreliable results in your blot. You can use a checklist to track each step and keep your workflow organized.
🕒 Tip: Set reminders for each step in your workflow. This habit helps you avoid missing critical steps and keeps your protein loading consistent.
Sample Loading Consistency
Consistent loading is the key to reliable Western blot results. You need to use the same amount of protein in every lane. If you do not, you may see differences in band intensity that do not reflect true protein levels. Quantitative analysis depends on equal loading, so you must measure protein concentration for each sample.
Here is a table showing how errors in protein quantification can affect your blot:
Step | Description |
|---|---|
1 | Quality control of all players involved in the procedure |
2 | Appropriate protein extraction method |
3 | Electrophoresis and transfer of proteins |
4 | Immunodetection of blotted protein by antibodies |
5 | Imaging and analyzing the data |
6 | Incorporating critical validation steps to minimize errors and variability |
You need to validate your loading by checking your quantification results before you run your blot. If you see large differences, you should adjust your sample volumes. This practice supports semi-quantitative analysis and helps you compare protein levels between samples. You can use internal controls to check your loading and improve your results.
Always measure protein concentration for each sample.
Adjust loading volumes based on quantification.
Use controls to check consistency across lanes.
📊 Note: Careful quantification and loading help you get clear, reliable bands in your Western blot. This approach supports accurate quantitative analysis and reduces variability.
You ensure accurate protein quantification when you follow every Bradford assay step. Careful measurement supports reliable Western blot results. Consistent technique helps you avoid errors and improves your data.
📝 Use your checklist and best practices each time. This habit gives you confidence in your results and helps you achieve clear, trustworthy blots.
FAQ
What is the Bradford protein assay used for?
You use the Bradford protein assay to measure how much protein is in your sample. This helps you load equal amounts of protein in each lane for Western blot experiments.
Why do you need a standard curve?
A standard curve lets you compare unknown samples to known protein amounts. You plot absorbance values from standards and use the curve to find the protein concentration in your samples.
Can detergents affect your results?
Yes, detergents can change how the dye reacts with protein. You should use detergent-free buffers or dilute your samples to lower detergent levels for more accurate results.
How do you know if your results are reliable?
You run your samples and standards in duplicate or triplicate. You check for consistent absorbance readings. You also use fresh reagents and calibrate your spectrophotometer before each experiment.
What should you do if your sample is cloudy?
You can centrifuge your sample or use a filter to remove particles. Clear samples help you get accurate absorbance readings and better protein measurement.