News & Events
7 Essential Pipetting Techniques for Flawless Immunoprecipitation Results

Sep
Mastering pipetting helps you achieve precise immunoprecipitation results. Even small mistakes can change how your experiment turns out. You face risks like contamination, using the wrong tips, or holding the pipette incorrectly. These errors can waste time and cause false results.
- Consistent pipetting gives you reliable samples.
- Poor technique can lead to imprecise volumes and inaccurate data.
- Using best pipetting practices keeps your results reproducible.
You can improve pipetting technique by checking your skills and tools often.
Key Takeaways
- Regularly calibrate your pipettes to ensure accurate liquid transfer. This practice helps maintain reliable results in your experiments.
- Always use the right pipette tips for your samples. Sterile, filtered, and low retention tips protect against contamination and improve accuracy.
- Pre-wet your pipette tips before use. This simple step reduces evaporation and ensures you deliver the correct volume every time.
- Maintain consistent pressure on the pipette plunger. Smooth, steady movements prevent air bubbles and improve the accuracy of your results.
- Pay attention to pipetting angle and immersion depth. A vertical angle and proper depth help you avoid sample loss and ensure reliable data.
Pipette Calibration
Importance for Immunoprecipitation
You need to calibrate your pipettes regularly to achieve flawless immunoprecipitation results. Pipette calibration helps you maintain both accuracy and precision in every liquid transfer. Even a small error in volume can change your experiment. When you calibrate your pipettes, you make sure each sample gets the correct amount of liquid. This step is essential for reproducibility and comparability in immunoprecipitation.
Tip: Always check your pipette’s calibration before starting a new immunoprecipitation experiment. This habit helps you catch problems early.
Proper pipetting reduces measurement errors. You improve accuracy and precision by using calibrated pipettes. This practice keeps your results reliable and consistent. You can trust your data when you know your pipetting accuracy is high. Calibration also helps you minimize experimental variability. You get the same results across different experiments and users. This consistency is key for immunoprecipitation workflows.
| Calibration Benefit | Impact on Immunoprecipitation |
|---|---|
| Accurate volume delivery | Reliable sample preparation |
| Consistent results | Reduced experimental variability |
| Improved reproducibility | Trustworthy data |
When to Recalibrate
You should recalibrate your pipettes at regular intervals. Most labs recommend checking calibration every three to six months. If you notice inconsistent results or suspect a problem, recalibrate sooner. You must recalibrate after dropping a pipette or after servicing. Environmental changes, like temperature shifts, can also affect pipetting accuracy.
- Schedule calibration checks on your calendar.
- Record calibration dates in your lab notebook.
- Use a checklist to track pipetting technique and calibration status.
You improve accuracy and precision by keeping your pipettes in top condition. Proper pipetting starts with regular calibration. This step supports every immunoprecipitation experiment you run.
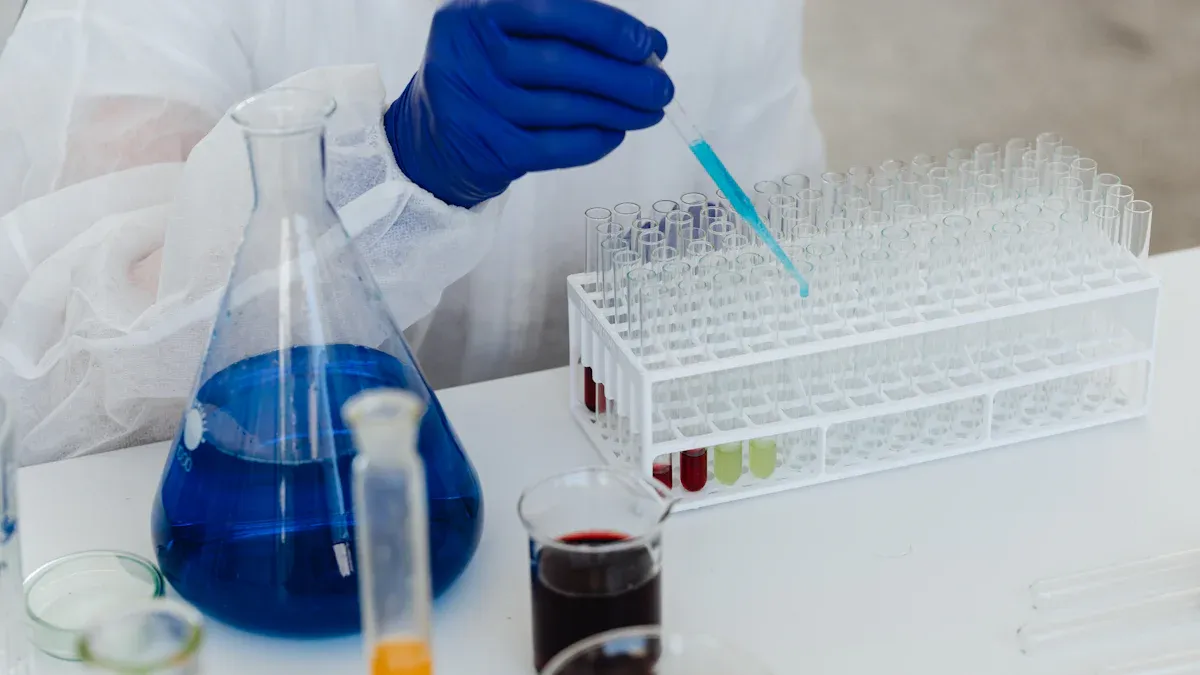
Tip Selection
Preventing Contamination
You protect your samples from contamination by choosing the right pipette tips. In immunoprecipitation, even a small amount of unwanted material can ruin your results. You should always use sterile tips for experiments that require sterility. Filter tips give you extra protection. They block aerosols and liquids from entering the pipette, which keeps your samples clean. Low retention tips help when you work with sticky or viscous samples. These tips make sure that liquid does not stick inside, so you get accurate results every time.
- Sterile tips stop bacteria and fungi from reaching your samples.
- Filter tips prevent DNA, RNA, and proteins from contaminating your work.
- Low retention tips improve recovery, especially with thick solutions.
Tip: Filtered pipette tips are best for sensitive samples like proteins, enzymes, or nucleic acids. They add a layer of safety and help you keep your experiment reliable.
Here is a quick comparison:
| Feature | Filtered Tips | Non-Filtered Tips |
|---|---|---|
| Contamination Prevention | Blocks aerosols and liquids, reducing contamination | Lacks barrier, increasing contamination risk |
| Suitable for Sensitive Samples | Ideal for PCR, cell culture, and protein studies | Not recommended for sensitive samples |
Tip Fit and Volume Accuracy
You need the right fit between your pipette and tip to achieve high precision. If the tip does not fit well, you risk losing volume or getting air bubbles. This can cause big differences between samples. Always check that the tip is secure before you start pipetting. When you work with small volumes, make sure no liquid stays in the tip. This step helps you avoid errors and keeps your results consistent.
- A poor fit can lead to high variability between technical replicates.
- Volume left in the tip lowers your accuracy.
- Universal tips may not always fit every pipette model.
You should match the tip brand and model to your pipette. Many manufacturers recommend using their own tips for the best performance. You can also check compatibility charts to make sure you have the right combination. This practice supports proper pipetting and helps you reach the highest level of precision in your immunoprecipitation experiments.
Note: Understanding tip design and mounting mechanisms helps you avoid mistakes and supports your pipetting technique.
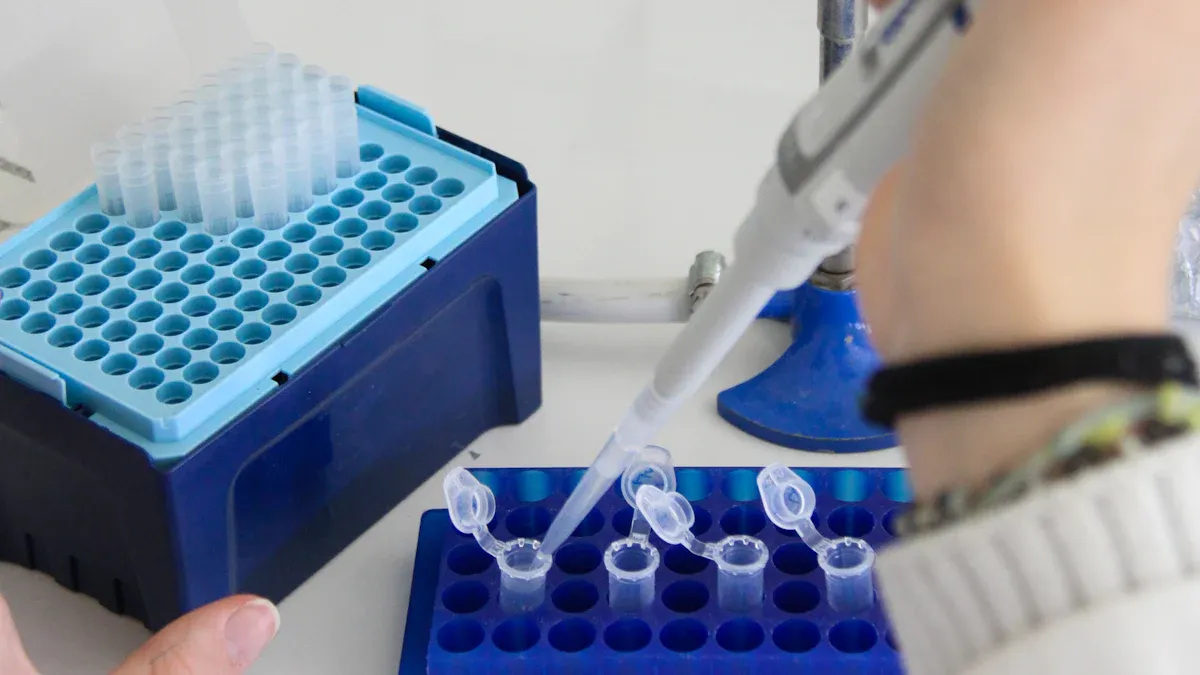
Pre-Wetting Pipette Tips
Accuracy Improvement
You can improve your immunoprecipitation results by pre-wetting your pipette tips. This simple step helps you deliver the right volume every time. When you pre-wet the tip, you draw up and expel the liquid before you start your actual sample transfer. This action increases the humidity inside the tip and reduces evaporation. You get more accurate results, especially when you work with small volumes or sensitive protein-protein interactions.
Experts recommend repeating the pre-wetting step several times before you begin. Here are some guidelines:
- ISO standards suggest pre-wetting the pipette tip at least five times for the best accuracy.
- Some manufacturers say three cycles may be enough, depending on your accuracy needs.
- Pre-wetting helps prevent sample loss by keeping the air cushion inside the tip moist.
You should always include this step in your pipetting technique. It supports proper pipetting and helps you avoid errors that can affect your protein-protein interactions. Many researchers find that this small habit leads to big improvements in their immunoprecipitation tips.
Tip: Pre-wetting is especially important when you handle low-volume samples or work with solutions that can evaporate quickly.
Consistency in Pipetting
Consistency matters when you want to study protein-protein interactions. Pre-wetting your pipette tips helps you get the same results every time you repeat an experiment. If you skip this step, you might see differences in your data, even if you follow every other immunoprecipitation tip.
You can make your technique more reliable by always pre-wetting. This habit reduces the risk of sample loss and keeps your results reproducible. When you use immunoprecipitation tips like pre-wetting, you help ensure that your protein-protein interactions reflect true biological signals, not pipetting errors.
Try to make pre-wetting a routine part of your workflow. You will notice fewer mistakes and more consistent results in your protein-protein interactions. This step, along with other immunoprecipitation tips, builds a strong foundation for every experiment.
Plunger Pressure and Pausing
Consistent Pressure
You control the accuracy of your immunoprecipitation protocol by applying steady pressure to the pipette plunger. When you press the plunger with the same force each time, you deliver precise volumes. Inconsistent pressure can cause you to draw up too much or too little liquid. This mistake leads to errors in your protocol and affects your results.
You should always press the plunger smoothly. Quick or jerky movements can create air bubbles. Air bubbles change the volume of your sample and reduce the reliability of your protocol. You can practice your pipetting technique by using water and measuring the volume you dispense. This exercise helps you develop muscle memory for consistent pressure.
Tip: Hold the pipette firmly and keep your wrist straight. This position gives you better control and helps you avoid fatigue during long protocols.
Many labs recommend using electronic pipettes for protocols that require high precision. These tools help you maintain consistent pressure and improve your technique. You can also set reminders to check your pipetting style every month. Regular practice keeps your skills sharp and supports flawless immunoprecipitation results.
Pausing After Aspiration
You improve sample accuracy in your protocol by pausing after you aspirate liquid. This step allows the liquid to settle inside the tip and prevents droplets from sticking to the walls. When you work with immunoprecipitation, you often use magnetic beads. You need to wait for these beads to fully bind to the tube wall before you remove the supernatant. If you rush this step, you risk aspirating immunocomplexes along with the liquid.
- Waiting ensures magnetic beads stay in place.
- You avoid losing valuable immunocomplexes.
- Your protocol produces more reliable results.
You can set a timer for two to five seconds after aspiration. This pause helps you follow the protocol and reduces sample loss. Many researchers find that this simple technique improves the accuracy of their immunoprecipitation protocol. You should include this step in your workflow to get the best results.
Note: Pausing after aspiration is especially important when you handle viscous solutions or work with bead-based protocols. This habit protects your samples and supports reproducible data.
Pipetting Angle and Immersion Depth
Vertical Angle
You improve your immunoprecipitation results by holding the pipette at the correct angle. The best technique uses a vertical position, close to 90 degrees. This angle helps you draw up and dispense liquids with high accuracy. If you tilt the pipette, you risk changing the volume. You may lose part of your sample or introduce air bubbles. These mistakes can affect your protein of interest and lead to unreliable data.
Many scientists recommend practicing with water first. You can measure the volume you collect at different angles. Most find that a vertical angle gives the most consistent results. Try to keep your pipette straight every time you work with your protein of interest. This habit supports reproducible experiments.
Tip: Use a mirror or ask a colleague to check your pipetting angle. You can catch small errors before they affect your protein of interest.
Proper Depth
You must pay attention to how deep you place the pipette tip in the liquid. If you go too deep, you may draw up extra liquid or cause splashing. If you stay too close to the surface, you risk pulling in air. Both mistakes can change the amount of protein of interest you transfer.
Follow these steps for best results:
- Insert the tip just below the surface, about 2-3 millimeters for small volumes.
- For larger volumes, you can go a bit deeper, but never more than one-third of the tip length.
- Always keep the tip steady and avoid moving it while aspirating.
| Volume Range | Recommended Depth | Common Error |
|---|---|---|
| 1-10 µL | 2-3 mm | Air bubbles |
| 10-100 µL | 3-5 mm | Splashing |
| 100-1000 µL | Up to 1/3 tip | Overdraw |
You protect your protein of interest by using the right depth. This technique helps you avoid sample loss and keeps your results accurate. You can practice with colored water to see how much liquid you draw at different depths. This exercise helps you refine your skills and ensures you transfer the correct amount of protein of interest every time.
Note: Consistent angle and depth help you achieve flawless immunoprecipitation. You get reliable data for every protein of interest you study.
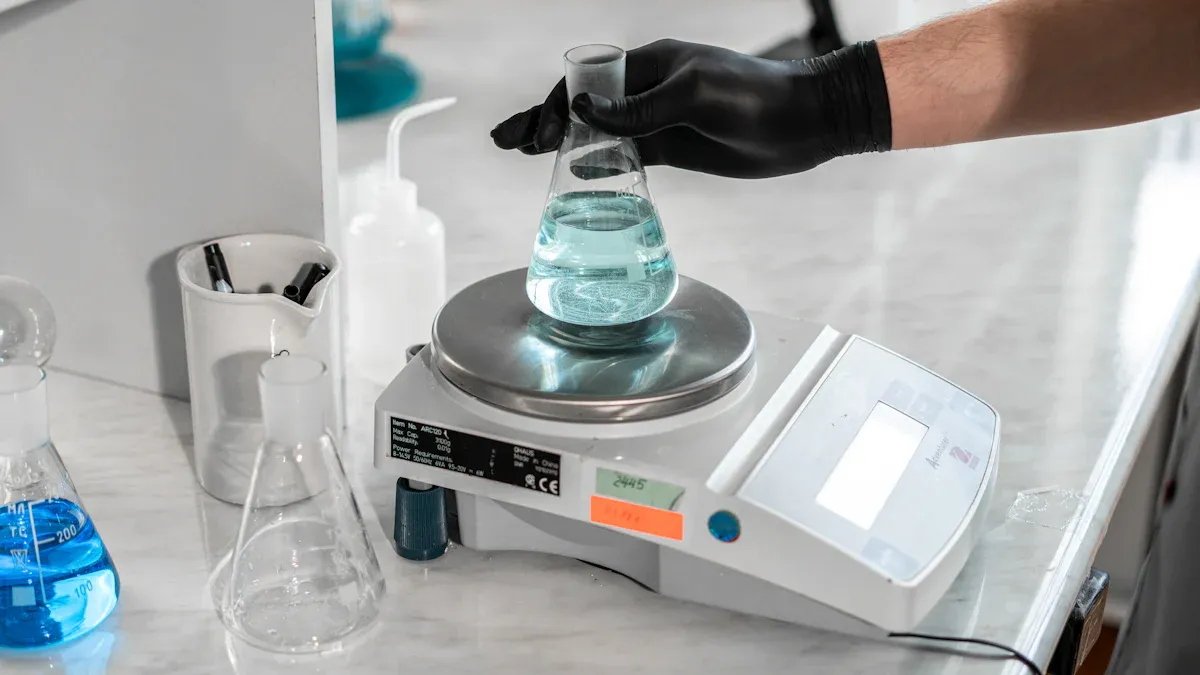
Temperature Equilibrium
Room Temperature Handling
You need to pay close attention to the temperature of your samples and reagents during immunoprecipitation. Temperature can change how proteins behave and affect your results. Most scientists recommend keeping samples cold to protect them. You can use ice or a refrigerator set to 4ºC. This slows down proteolysis, dephosphorylation, and denaturation. These processes can damage your proteins and ruin your experiment.
- Keep samples on ice or at 4ºC to slow down proteolysis, dephosphorylation, and denaturation.
- Place your tubes on ice during all pipetting steps.
- Incubate samples on ice for 30 minutes to maintain sample integrity.
Tip: Always chill your reagents before you start. Cold temperatures help you keep your proteins safe and your results reliable.
Effects on Pipetting Technique
You improve your pipetting accuracy when you let your pipette, tips, and liquids reach room temperature before you begin. Temperature differences can cause the air inside the pipette and tips to expand or contract. This changes the volume you draw and dispense. You may notice that your results become less consistent if you skip this step. When everything is at the same temperature, you get more precise and repeatable measurements.
If you work with cold samples, you should still let your pipette and tips adjust to room temperature. This helps you avoid errors caused by temperature shifts. You can test your technique by pipetting water at different temperatures and measuring the volume. You will see that temperature equilibrium makes a big difference in your results.
Note: Consistent temperature handling supports every step of your immunoprecipitation workflow. You protect your samples and improve your data quality.
Forward and Reverse Pipetting Technique
Standard vs. Viscous Samples
You often use forward pipetting for standard aqueous solutions in co-immunoprecipitation. This technique gives you the best accuracy when you work with water-like buffers. When you handle viscous liquids, such as protein solutions or glycerol, you should switch to reverse pipetting. Reverse pipetting helps you avoid errors that can affect your co-ip results.
- Forward pipetting works best for clear, non-viscous solutions in co-immunoprecipitation.
- Reverse pipetting is more accurate for viscous or foaming samples, like those with high protein or glycerol content.
- In a test with 1% BSA, reverse pipetting reduced imprecision by over 50% compared to forward pipetting.
- You see less variation in volume when you use reverse pipetting with glycerol.
Reverse pipetting also helps when you work with foaming agents in co-ip. This method reduces bubble formation, which can cause problems in your co-immunoprecipitation workflow. You get better results and more reliable data for co-immunoprecipitation when you choose the right pipetting method.
Co-immunoprecipitation Considerations
You face special challenges in co-immunoprecipitation experiments. Viscous samples and foaming agents are common in co-ip. You need to select the right pipetting method to keep your results accurate. Reverse pipetting is the best choice for these situations. It improves accuracy and reduces the risk of air bubbles.
You also need to watch for common errors in co-ip. The table below shows some issues and how to fix them:
| Common Error | Description | Solution |
|---|---|---|
| Viscous liquids handling | Hard to transfer accurately in co-ip. | Use electronic pipettes with reverse mode. Keep the tip in the liquid. |
| Rapid evaporation | Changes the volume in co-immunoprecipitation. | Work quickly. Pre-wet the tip. Use rapid dispense features if possible. |
| Inconsistent dispensing | First or last dispense in co-ip may be off. | Discard the first and last dispense to avoid errors. |
You must also focus on antibody selection in every co-ip step. The right antibody selection ensures you pull down the correct protein complexes. You should check your antibody selection before starting co-immunoprecipitation. Good antibody selection supports the accuracy of your co-ip results.
In co-immunoprecipitation, you often repeat the process many times. Each time, you need to use the correct pipetting method and review your antibody selection. This habit helps you get reliable results in all your co-ip experiments.
Tip: Always match your pipetting method to your sample type in co-immunoprecipitation. Review your antibody selection before every co-ip run.
Mastering pipetting techniques gives you high quality results in every experiment. You reduce errors and improve reproducibility in your immunoprecipitation experimental design by focusing on details like tip prewetting, steady plunger use, and proper immersion depth. Regular practice and review help you maintain strong skills.
Keep a checklist at your bench with these reminders:
- Prewet tips
- Use slow, steady movements
- Check immersion depth
- Keep a rhythmic plunger motion
A simple checklist supports your best work every time.
FAQ
How do you choose the best antibody for your ip?
You select an antibody that binds strongly to your target proteins. Check the datasheet for specificity and recommended applications. Use a small test ip to confirm the antibody works well before starting your full immunoprecipitation experiment.
What is the correct way to use magnetic beads in ip?
You add magnetic beads to your sample after mixing with antibody. Gently rotate the tube to help the beads capture proteins. Place the tube on a magnet to separate the beads from the liquid. Wash the beads to remove unwanted proteins.
How can you avoid losing proteins during an immunoprecipitation experiment?
You keep samples cold and use gentle pipetting. Always pre-wet tips and use slow, steady movements. Magnetic beads help you collect proteins without losing them. Practice how to pipette for precise pipetting and accurate pipetting in every ip.
Why does tip pre-wetting matter for ip?
Tip pre-wetting helps you transfer the right volume. You draw and expel liquid a few times before starting. This step reduces evaporation and improves precise pipetting. You get better results in your immunoprecipitation experiment and keep proteins safe.
What is the best way to learn how to pipette for ip?
You practice with water and colored solutions. Try different pipetting angles and depths. Watch for air bubbles and check your volume. Ask a mentor for tips on how to pipette. Use a checklist to remember each step in your immunoprecipitation experiment.